First Time Flying Abroad? A Step-by-Step Guide On What Happens at the Airport
From airport entry to immigration, everything explained simply. Remove the fear of flying abroad with this easy walkthrough.
For many people, the first international trip is not just exciting…it is also overwhelming.
You have your visa. You have your ticket. And yet, a quiet question remains:
“What exactly do I do at the airport?” Let’s walk through it together, step by step.
🧳 Before You Leave Home
Make sure you carry:
- Passport (with visa)
- Flight ticket (printed or digital)
- Boarding pass (if web check-in done)
- Some cash + card
Try to reach the airport 3 hours before departure for international flights.
Most airlines and aviation authorities recommend this timing to allow for check-in, security, and immigration procedures.
🏢 Step 1: Entering the Airport
At the entrance, security will check:
- Your passport
- Your ticket or boarding pass
In some airports, for example Toronto (YYZ), non-passengers are allowed to accompany passengers till the flight check-in counter while in some airports, for example, Mumbai (BOM), only passengers are allowed inside the airport. Please note, this is as on date, rules keep changing.
🧾 Step 2: Check-in Counter
Go to your airline’s counter. The counter number will usually be mentioned on a screen display.
Here you will:
- Show passport, visa and ticket (you might be refused boarding if you do not have a valid visa)
- Drop your luggage.
- Receive your boarding pass (if not already)Nowadays, many airports have self check-in counters where you have to scan your passport, generate your own baggage tags and boarding cards and even self drop your baggage. It is easy and self-explanatory, but if you are overwhelmed, do not hesitate to ask for help from the airline agents who are always around. There is no need to feel embarrassed or shy 🥰
Your baggage will be tagged to your final destination. However, confirm this once again as some transit airports (especially most airports in the USA) need you to collect you baggage, do the security again and check in the baggage once more for the next sector.
According to the International Air Transport Association, check-in is where your luggage is officially accepted and routed through the airline system.
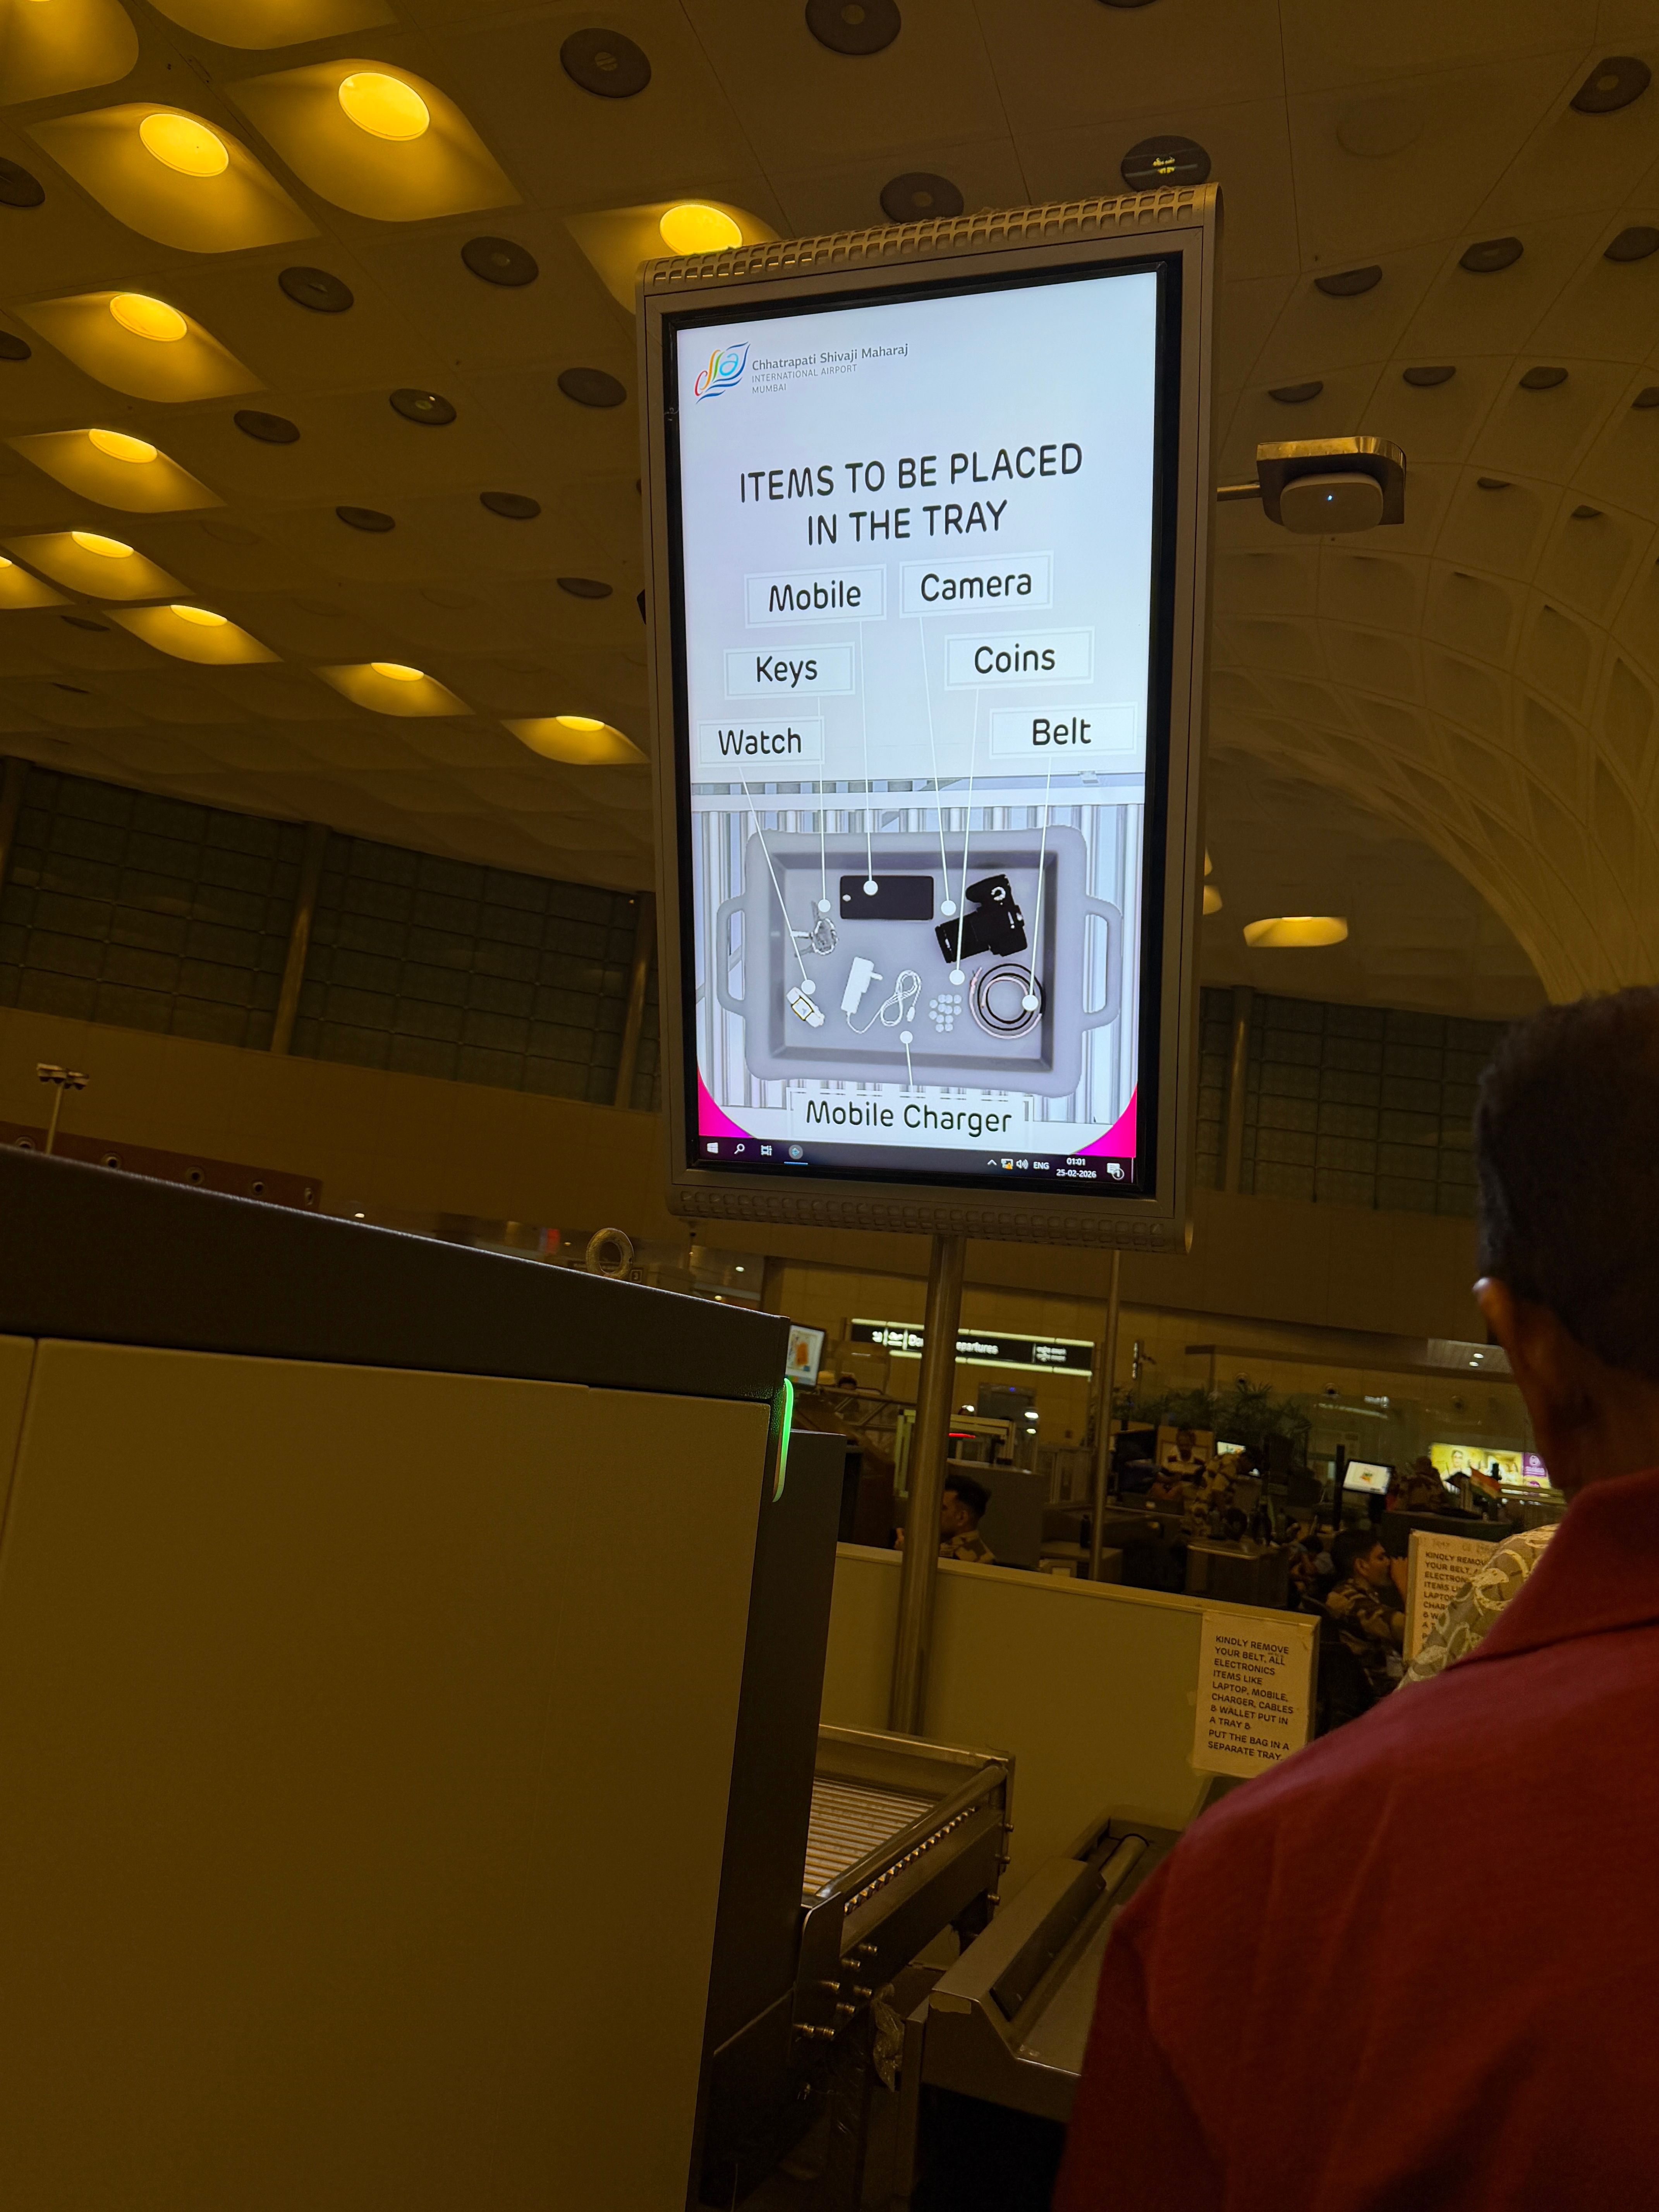
🛄 Step 3: Baggage & Security Check
Next, you go through security screening. You will see a board indicating the directions to security check. Trolleys are not allowed in this area.
You will:
- Place your hand baggage, jacket, belts, mobile phones, laptop, often even shoes, on the scanner
- Walk through a metal detector
Important rules:
- Liquids usually limited to 100 ml per container
- Some items not allowed might be Flammable liquids and solids such as lighter refills, lighter fuel, matches, paints, thinners, fire-lighters, lighters that need inverting before ignition, matches, radioactive material, briefcases and attache case with installed alarm devices.
- Spice powders (masala powders), chilli powder, fresh fruits/ vegetables / plants are usually not allowed
These rules are standardized globally under aviation security guidelines.
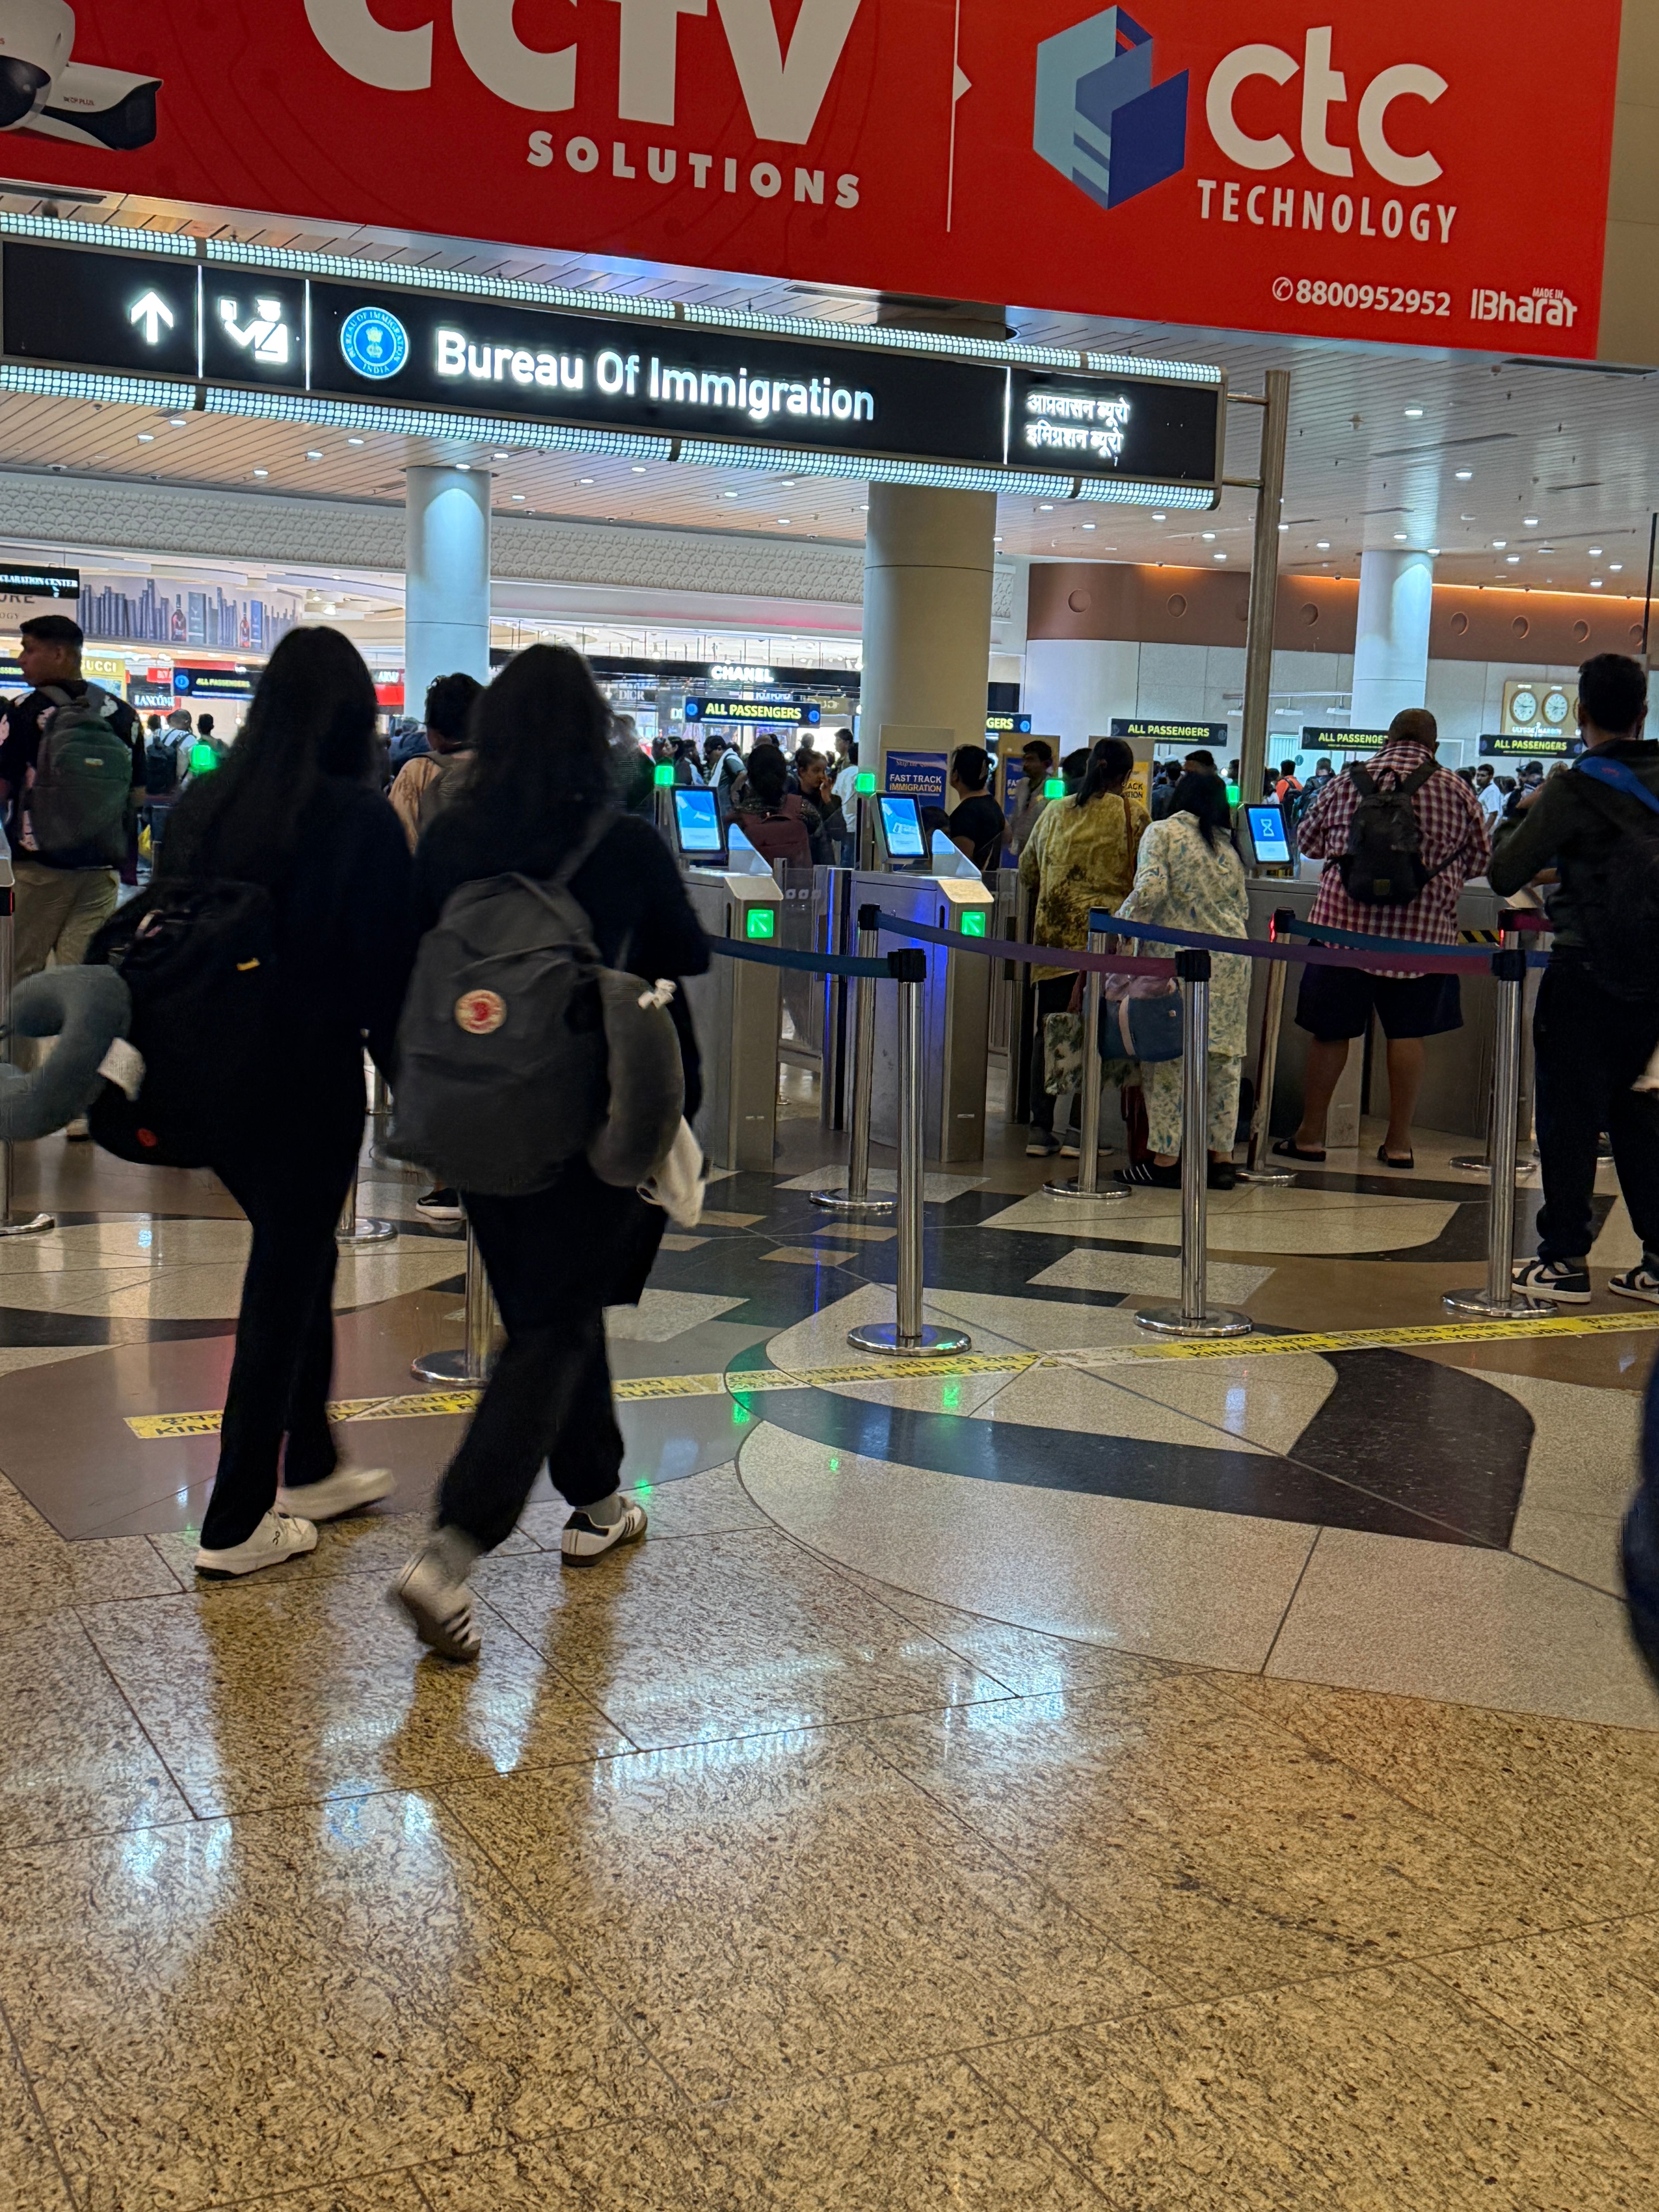
🛂 Step 4: Immigration (Very Important)
This is where you exit your country. After Security check, you will see the area for Immigration counters
An officer will:
- Check your passport and visa
- Ask simple questions (Where are you going? Purpose? When are you coming back? If you are going for work, they might ask you related questions. If you have young children with you, they might talk to them in a friendly way and ask where they are going. Answer confidently. If your purpose is clear and legal, no one can stop you)
- Take your photo (they will ask you to look at a camera on the counter)
- Stamp your passport (Exit Stamp). Some countries do not put a stamp.
- Pro tip: remember to keep a pen handy. You might need it to fill some immigration forms or even arrival forms when you are inside the flight
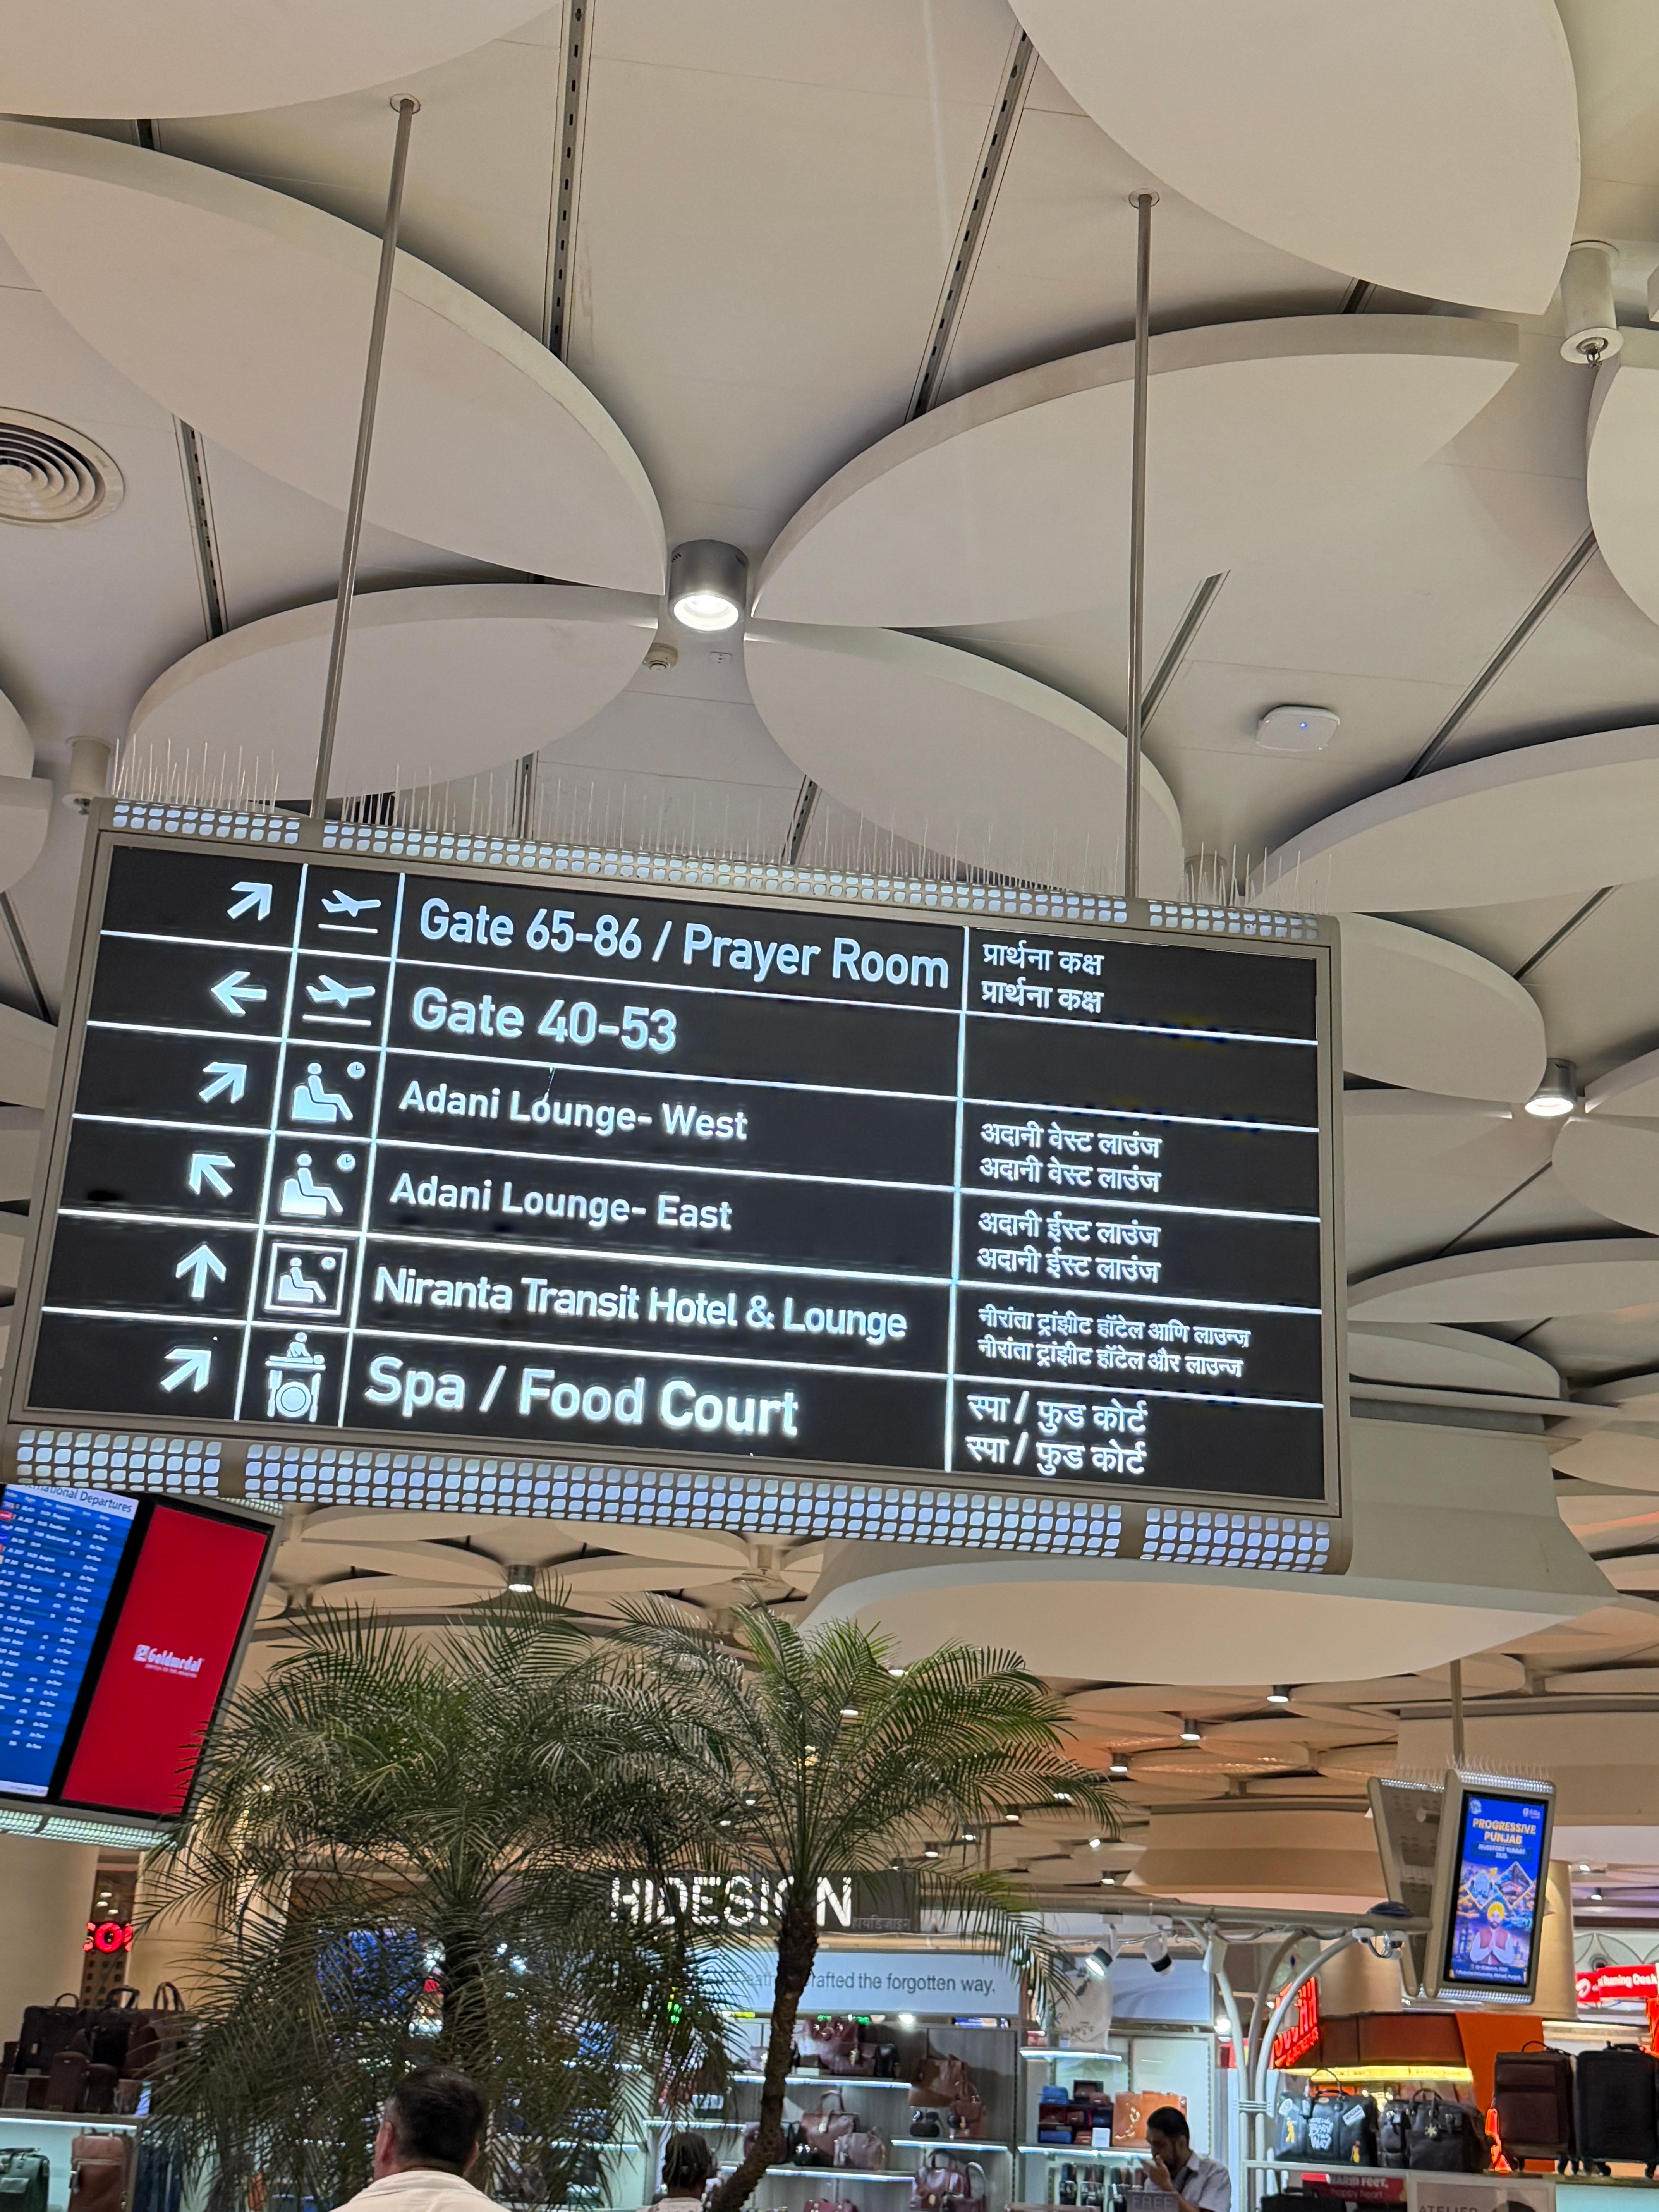
🛍️ Step 5: Duty-Free & Waiting Area
Once you clear immigration, Congratulations! Now you enter the departure area, ready to fly!
Here you can:
- Shop duty-free (whatever you buy here can be taken inside your flight)
- Eat
- Go to the lounge, eat and relax if have the right credit card/ priority pass/ DreamFolks card etc.
Keep an eye on boarding gate announcements that will be displayed on a screen. Stay close to the boarding gate if it is close to boarding time, or if there is time, at least check the gate once. International airports are HUGE and it could take even 15-20 mins to reach a gate.
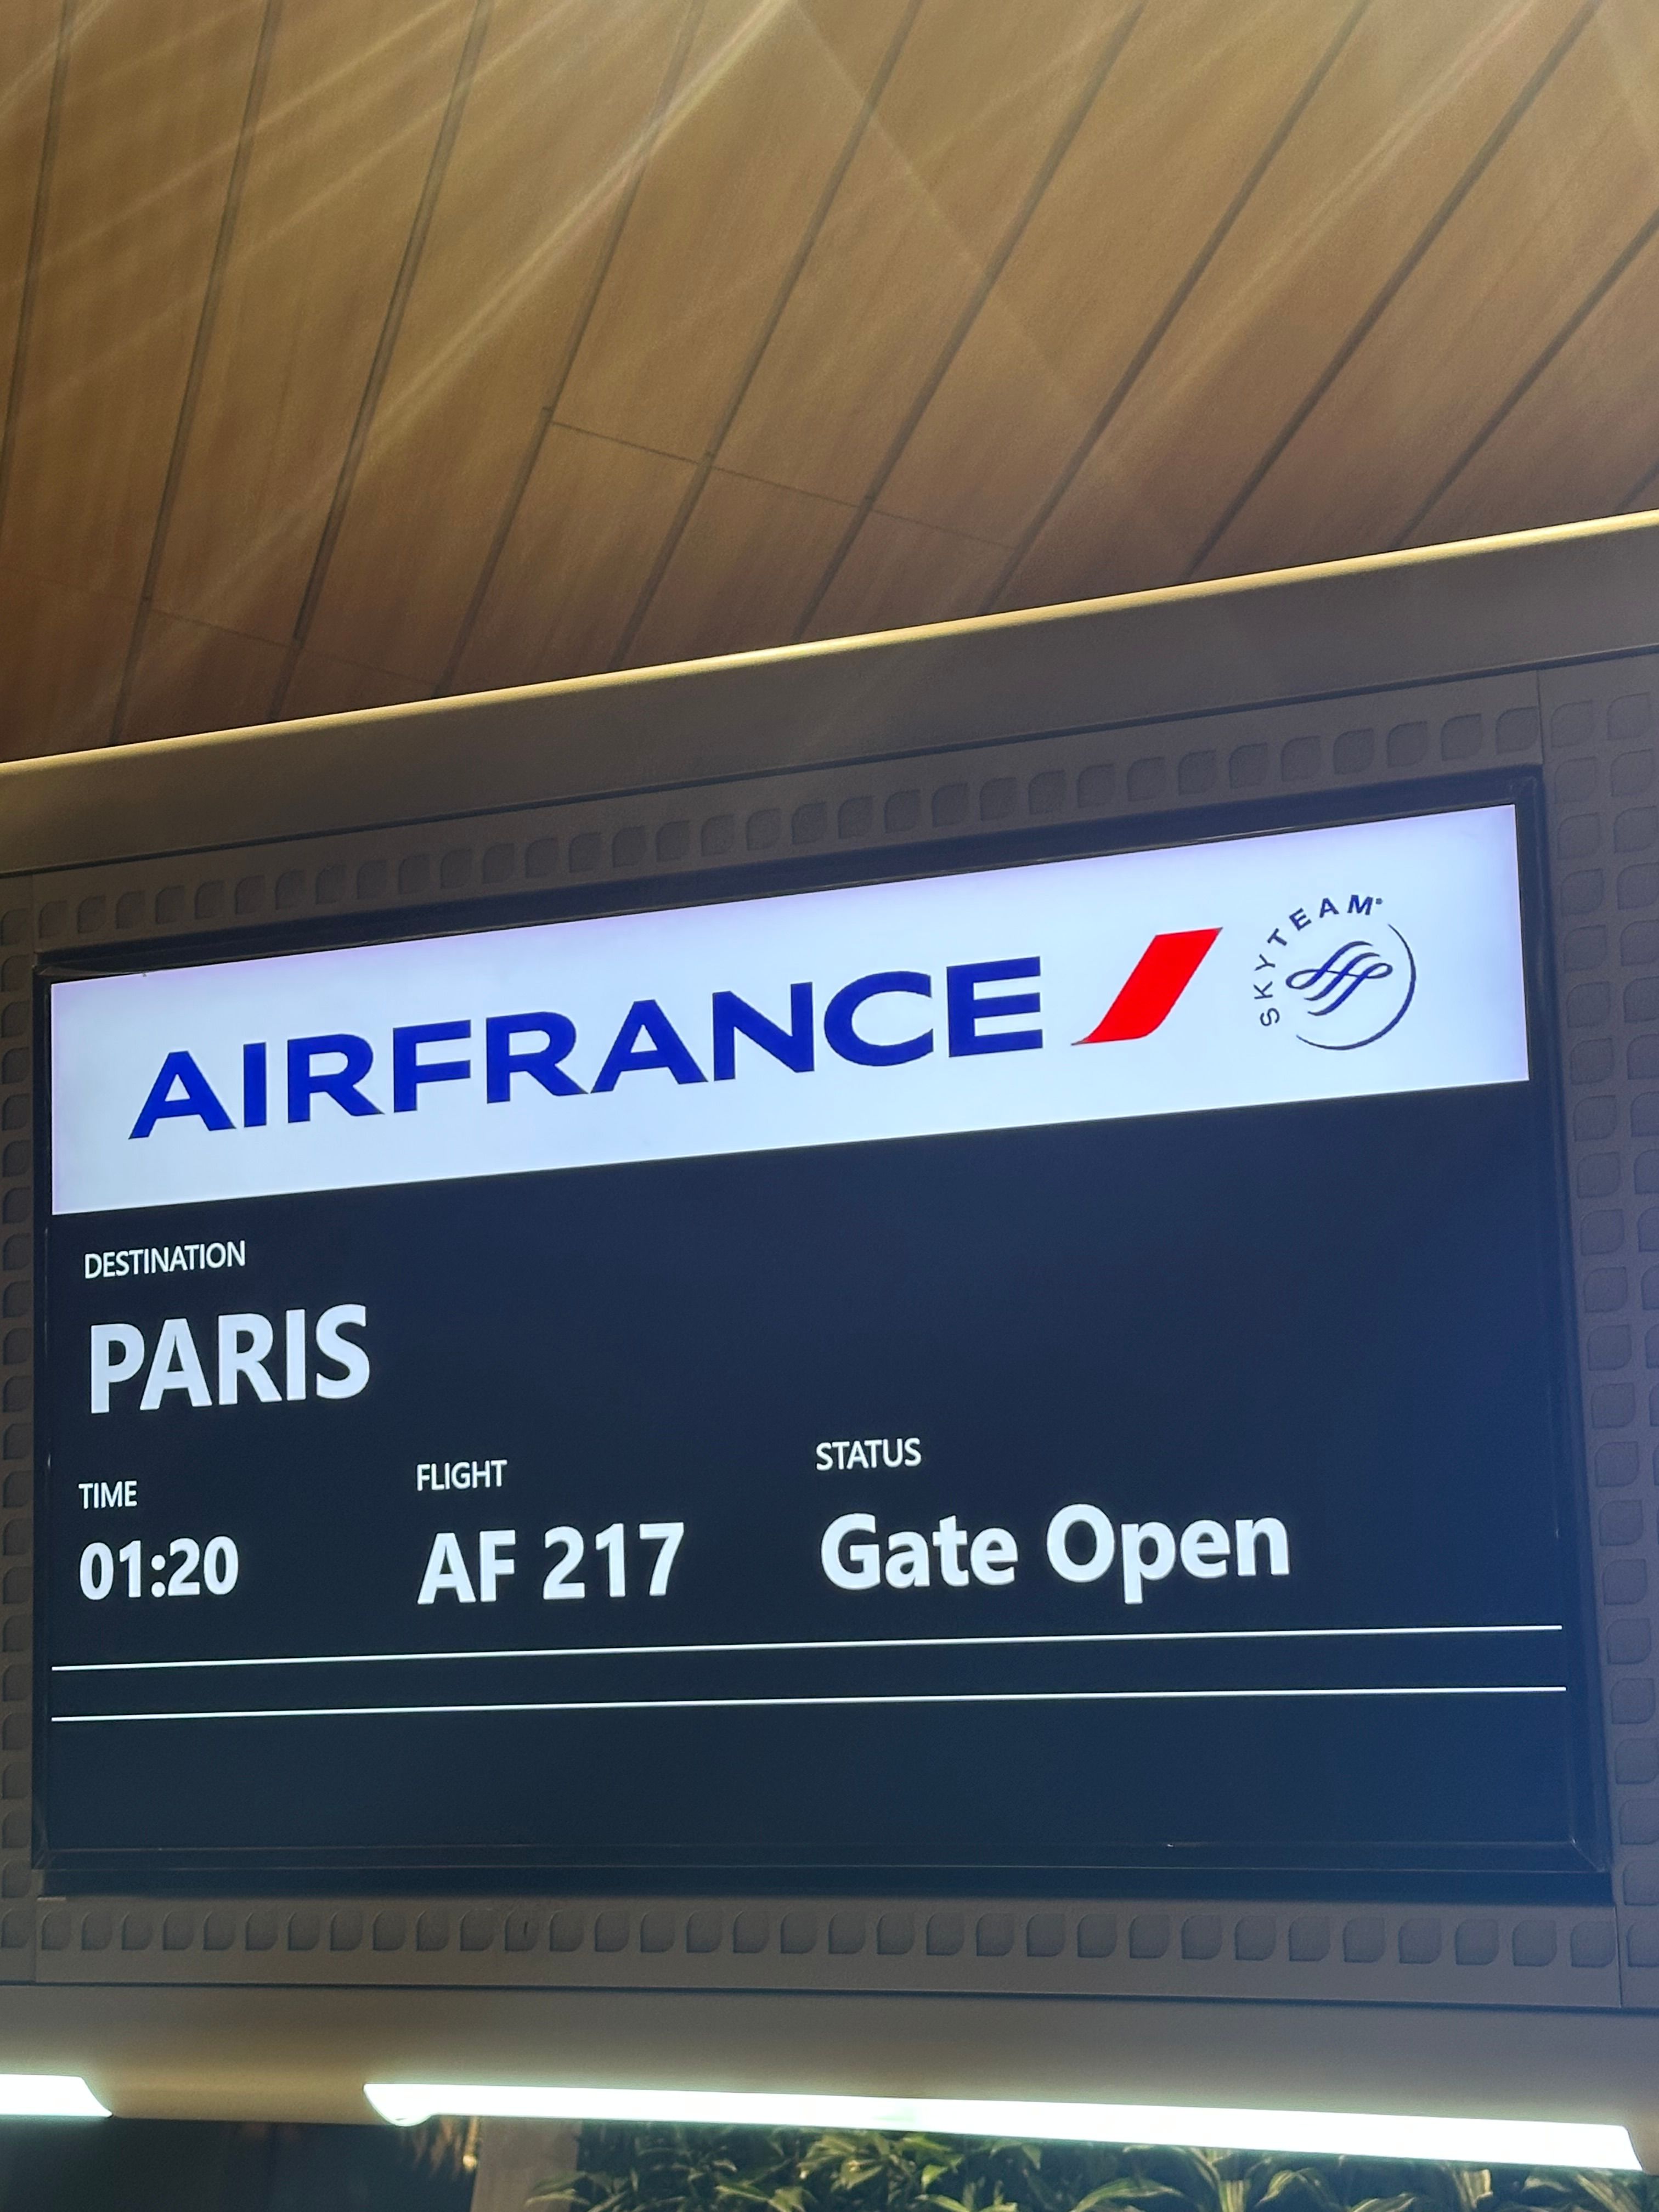
🚪 Step 6: Boarding the Aircraft
When your flight is announced:
- Go to your gate
- Show boarding pass and passport
- Board the aircraft
Boarding usually starts 30–45 minutes before departure. A zone number will be mentioned on your boarding card. Boarding will start with priority for Business Class/ First class travelers, people with infants, senior citizens and people on wheel chairs. After that, boarding will be Zone wise, as announced by the airline staff. Go when your Zone number is called, do not rush.
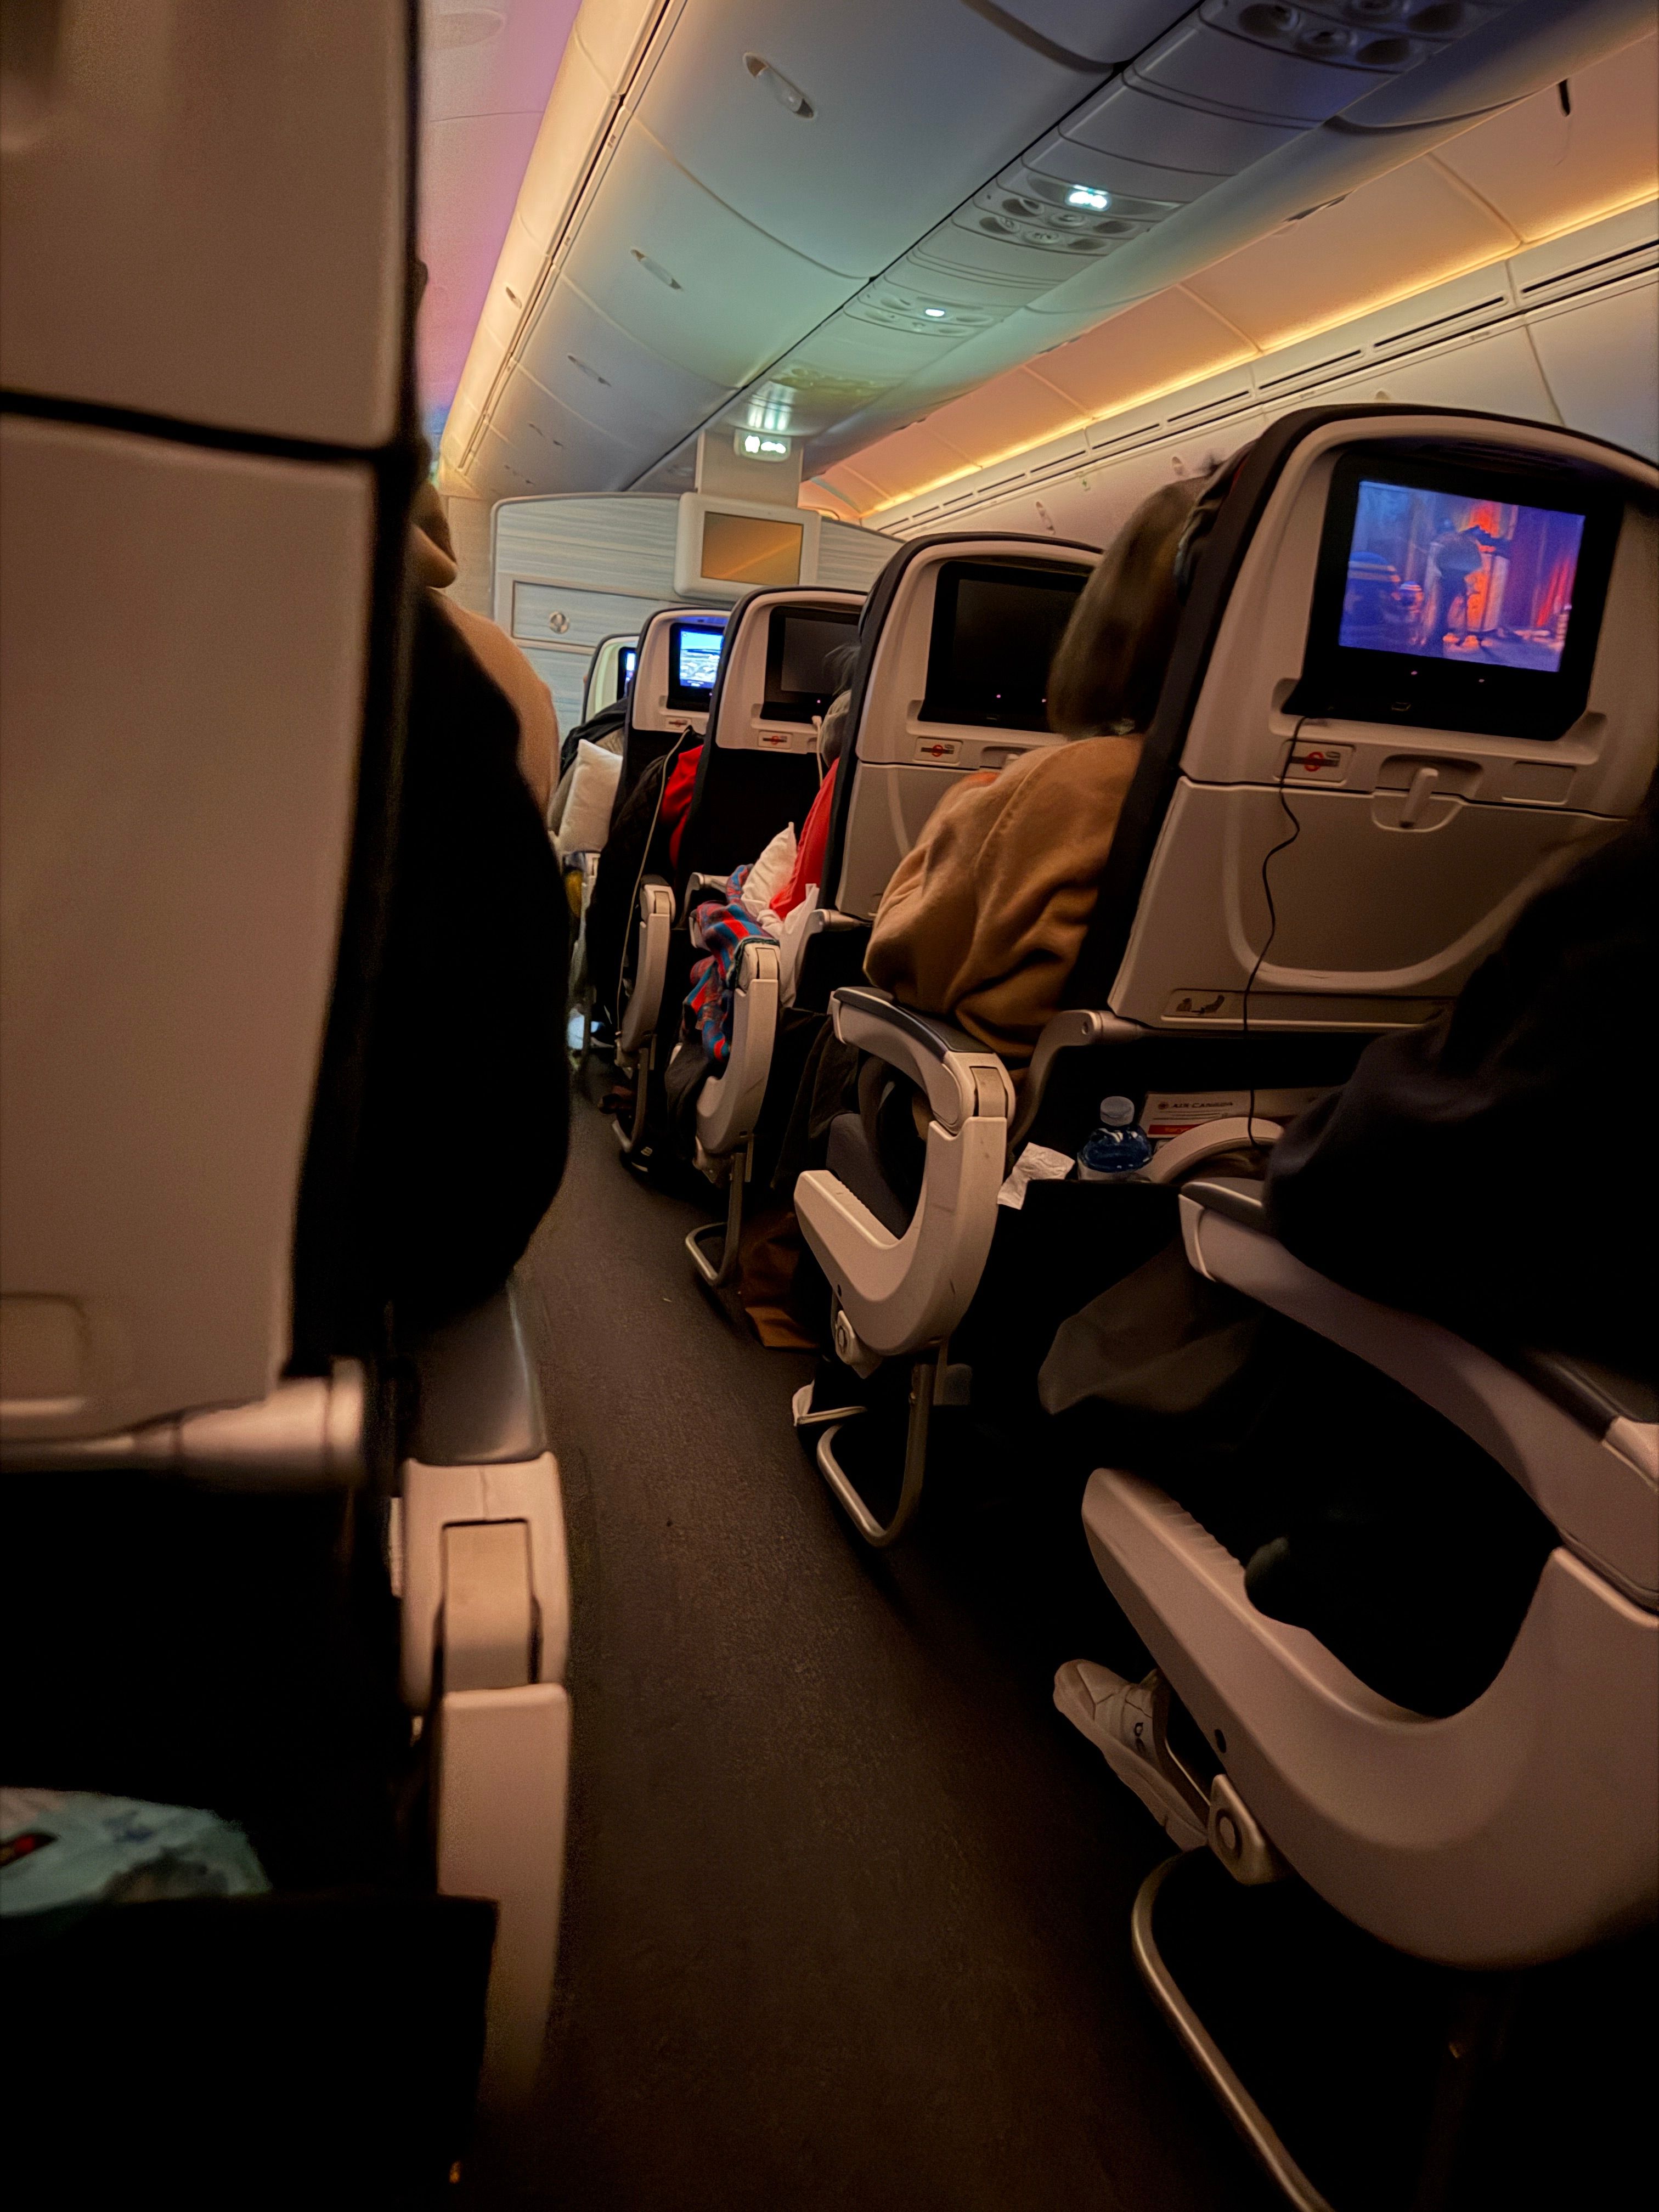
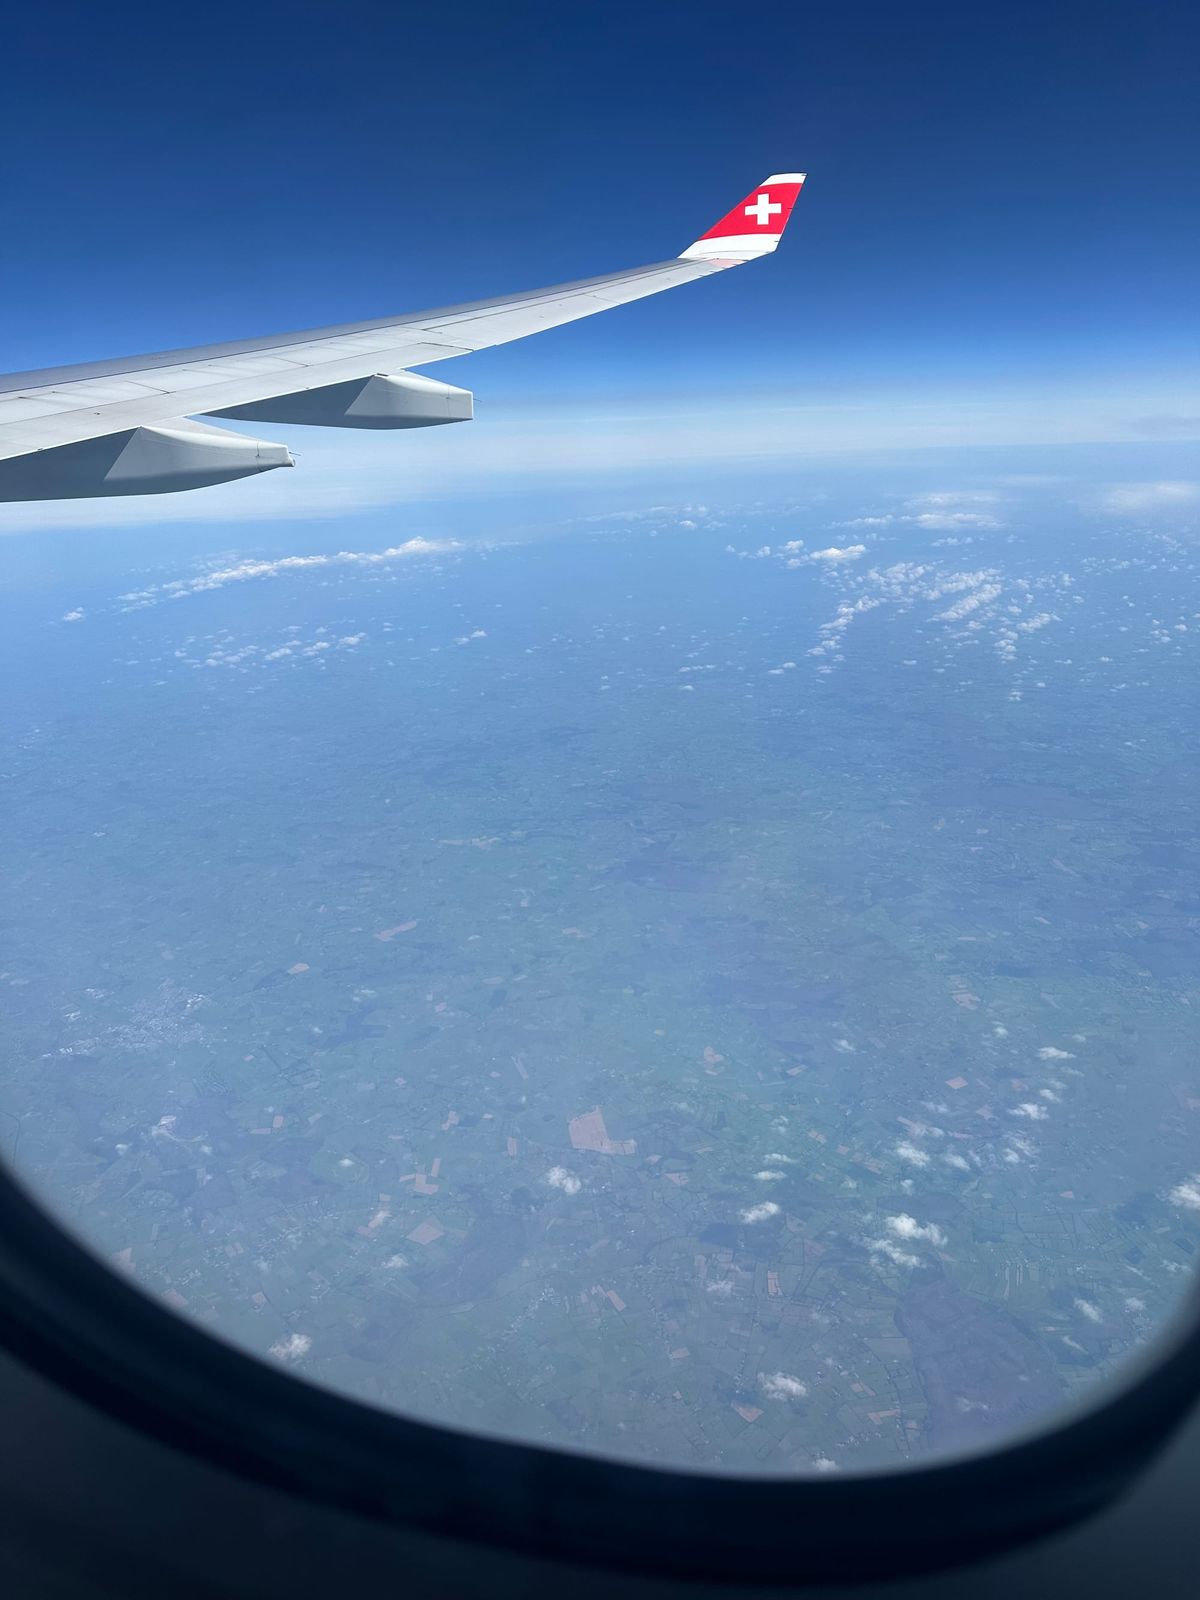
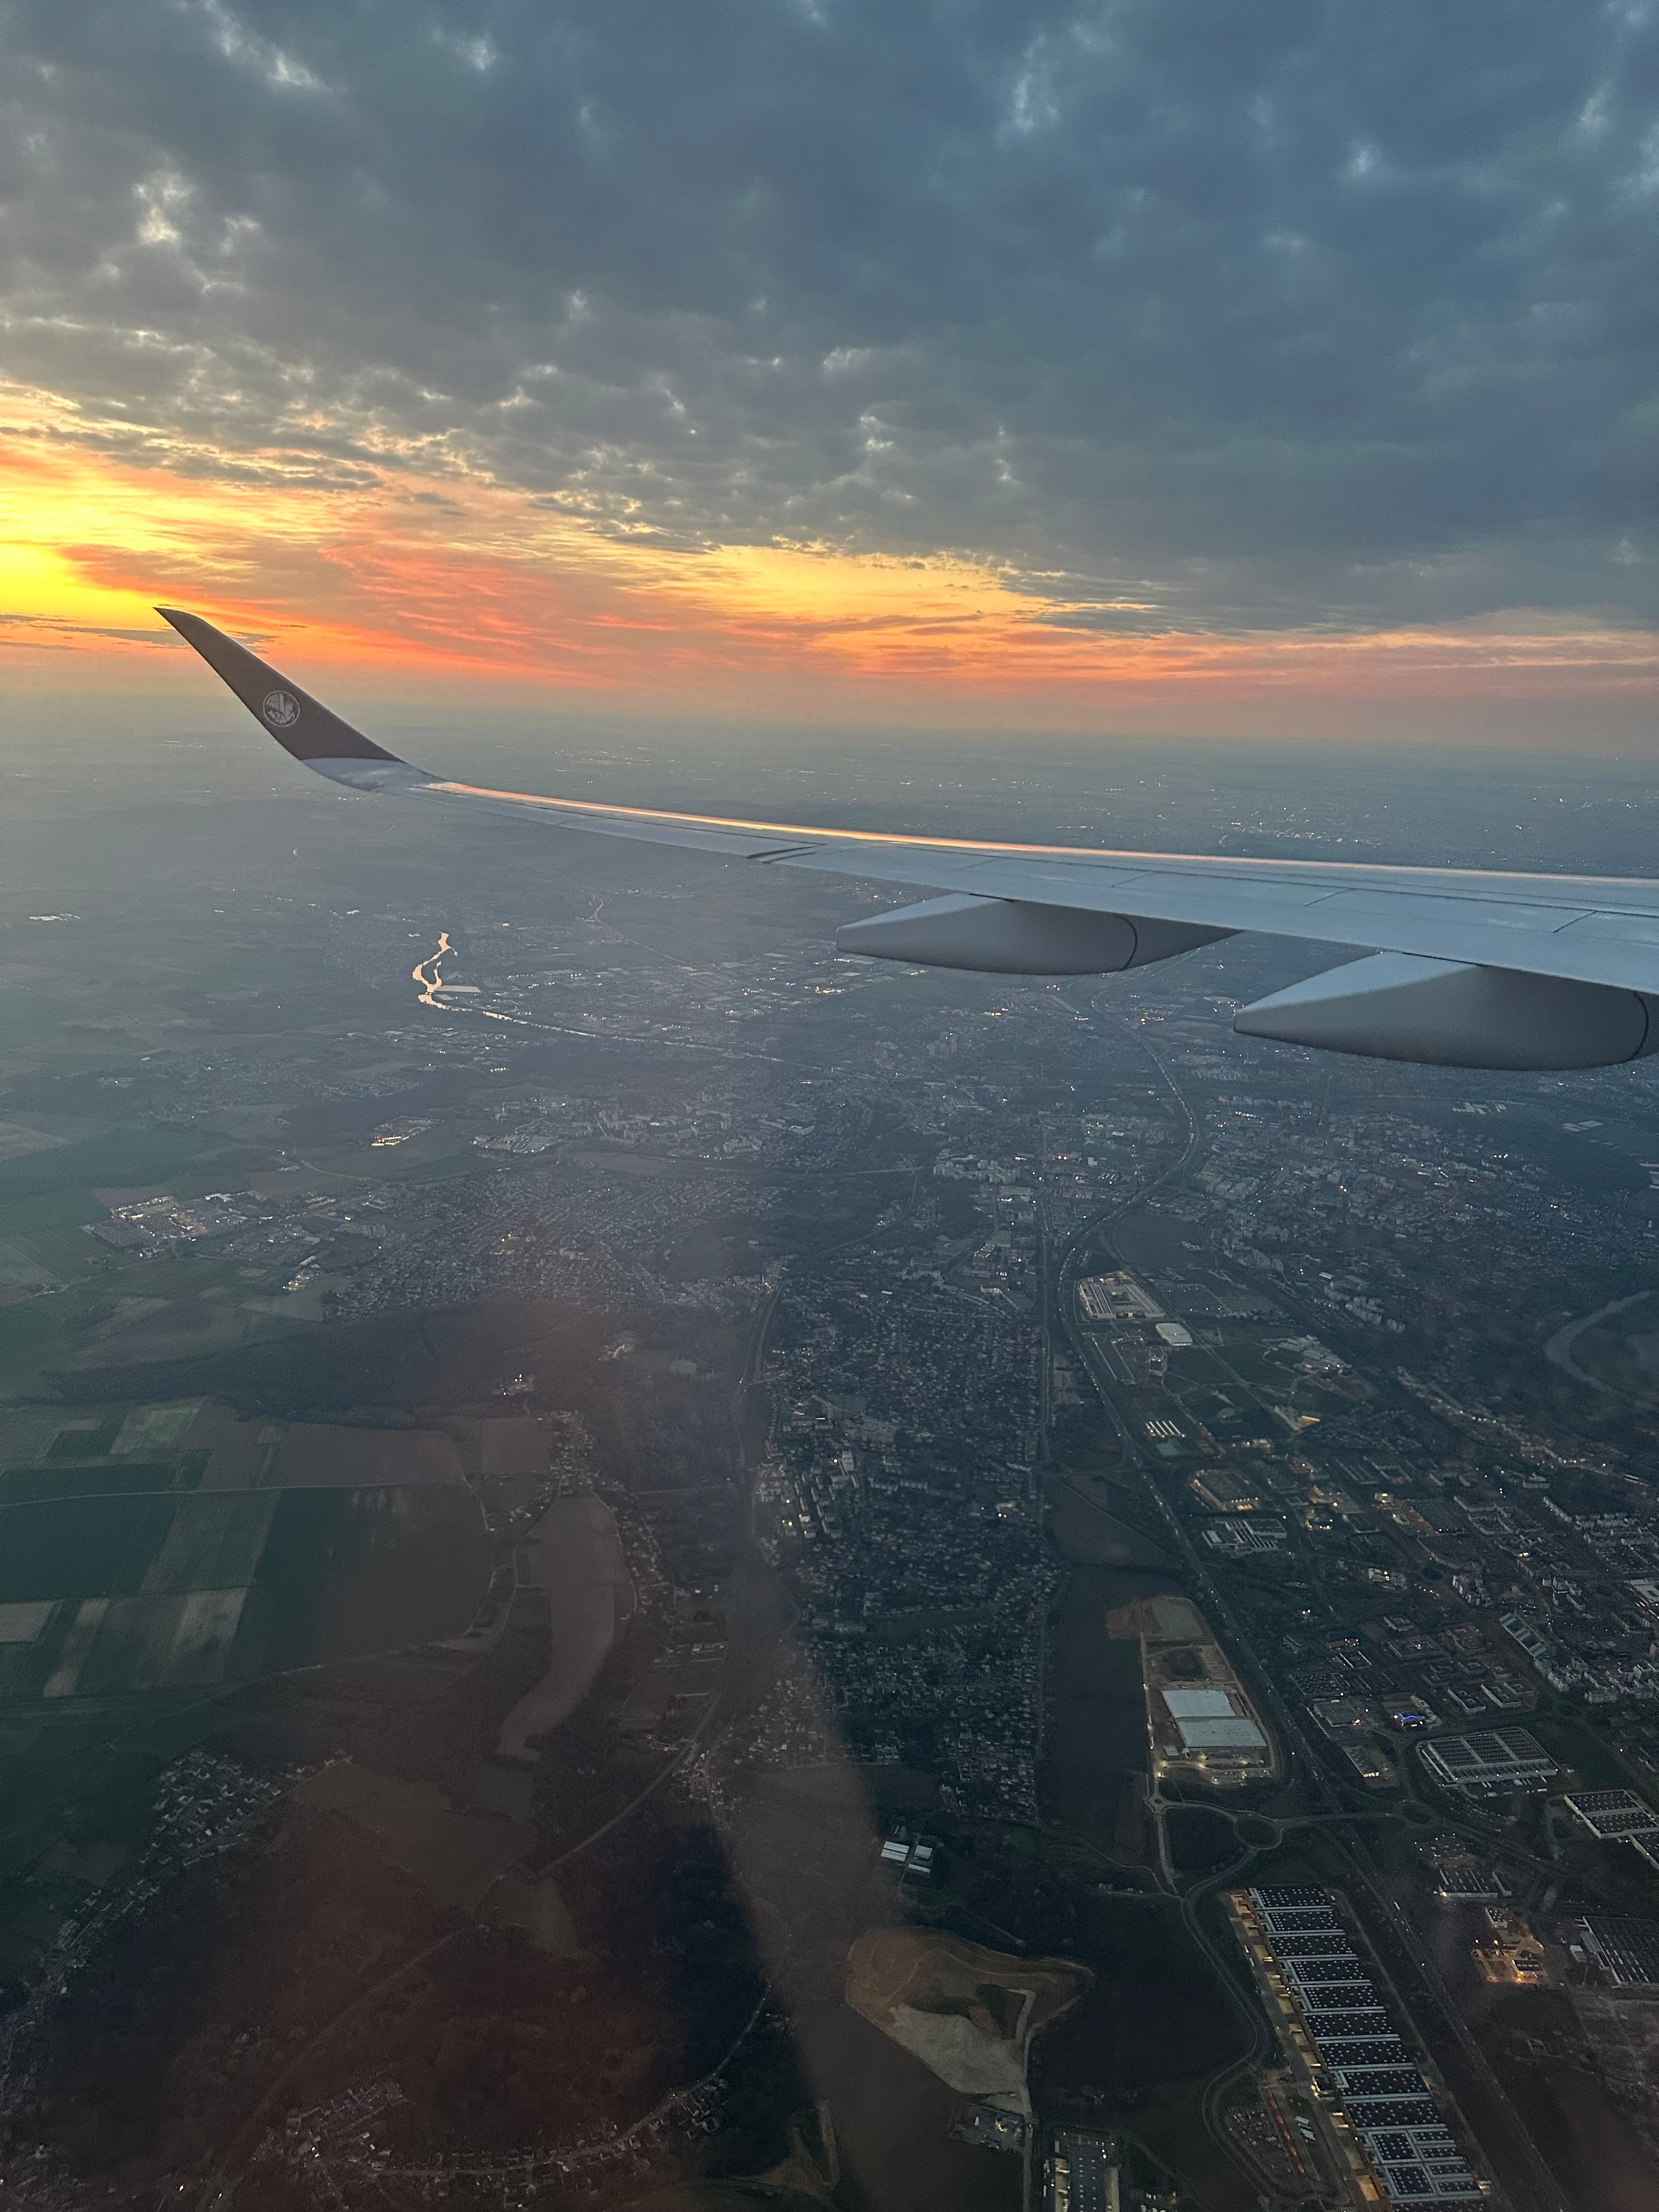
✈️ During the Flight
- Follow seatbelt instructions
- Meals / drinks may be served (depending on airline)
- Fill any arrival forms if given (remember I told you to keep a pen handy?)
- Most International flights have on board entertainment (on the screen in front of your seat). Nowadays some have in-flight Wi-Fi too (free/ paid). Relax and enjoy your time!
- If you feel cold, you can ask for a blanket (if not already given).
🌍 When You Reach Your Destination
Step 1: Immigration (Arrival Country)
You will:
- Show passport and visa
- Answer basic questions (where have you come from? how long do you propose to stay? Are you carrying any cash beyond permissible limits?)
Your passport will be stamped (entry stamp) in most countries. This is where you are officially allowed into the country.

🧳 Step 2: Baggage Claim
- Go to the belt number shown on screens. Many times, it is announced in the flight itself when you are about to land. If not, watch the screens.
- Collect your checked luggage
🛃 Step 3: Customs
Once you collect your bags, you need to clear customs. They usually have a ‘Green’ or ‘Nothing To Declare’ and a ‘Red’ or ‘Declarations’ line.
If you have something to declare (like carrying more than permissible limit of cash, prohibited items, high value items, etc), you need to ‘Declare’ them and pay duty if needed.
If you have “Nothing to Declare” , you just walk out of the exit gate to your new destination 😄 .
Congratulations!!😍😍
🔁 But Wait! What If You Have a Transit Flight?
If your journey includes a connection, don’t worry:
Scenario 1: Same Airline / Through Check-in
- Your luggage goes directly to final destination
- Follow signs for “Transfer” or “Transit”
- Pass through security again
- Check your gate number on the screen, mostly it will not be mentioned on your boarding card. Go to gate (on some airports, you might need to take a bus/ subway/ train - if your next gate is on a different Terminal. These are free facilities. Do not worry, the signs will be written clearly and you will also find a help desk or Agents standing and guiding the passengers).
Scenario 2: Different Airlines / Separate Tickets
- You may need to:
- Collect luggage
- Re-check it
- Go through immigration and security
Transit rules vary by country, but major airports are well signposted.
Airports are designed to guide passengers, and transfer signage is standardized globally. Also, there will always be people around to guide you. Do not feel shy to ask!
💡 Helpful Tips for First-Time Travelers
- Follow airport signs—they are clear and universal
- Don’t hesitate to ask staff for help
- Keep documents easily accessible
- Stay calm—everyone around you is doing the same process
🌿 A Thought to End With
Airports may look complicated…
But in reality, they are just a series of small steps—
taken one after another.
And once you’ve done it once,
you’ll never be afraid again.
If you have any questions, suggestions or information, I would love to hear!
Happy Travels, Safe Travels..Yogi
Subscribe to my newsletter if not already done https://yogi-travels.ghost.io
Follow me on X , Follow me on Medium